Creating Portraits on Location, A Workshop
This weekend I did a mini-workshop on Creating Portraits on Location with Glazer’s Camera. I partnered up with the regional Fujifilm rep to bring in some cameras and lenses for attendees to try and also borrowed some Profoto B10’s to demo some lighting on location techniques.
My goals for the outing were to review:
- Working in available light
- Working and diffusing hard light
- Reflecting light
- Adding off camera lighting and balancing some of that with ambient
- As a bonus I included a super dramatic look towards the end.
It being a traditional Seattle day, the clear blue sky we started the day off with disappeared to a cloud covered sky. Now for portraits, this can actually be beneficial, however when one of your goals is to chat about hard light, working with it and diffusing it… that plan dissipates fast! I did kick things off with an overview of the various bits of gear we would be using, camera and lens options, including my go-to portrait lens from Fujifilm, the 56mm f/1.2, a review of reflectors, light stands and the Profoto B10 and air remotes.

Here I demonstrate blocking direct light using a Westcott Diffusion panel, and bouncing some light back into the face with a smaller silver reflector.
After my review of gear and essential concepts in portraiture, we headed to the first location I had in mind.
April, was a model for the event, she’s fab. I’d gotten to work with her at another event a few weeks ago and was so happy she was available for this one!
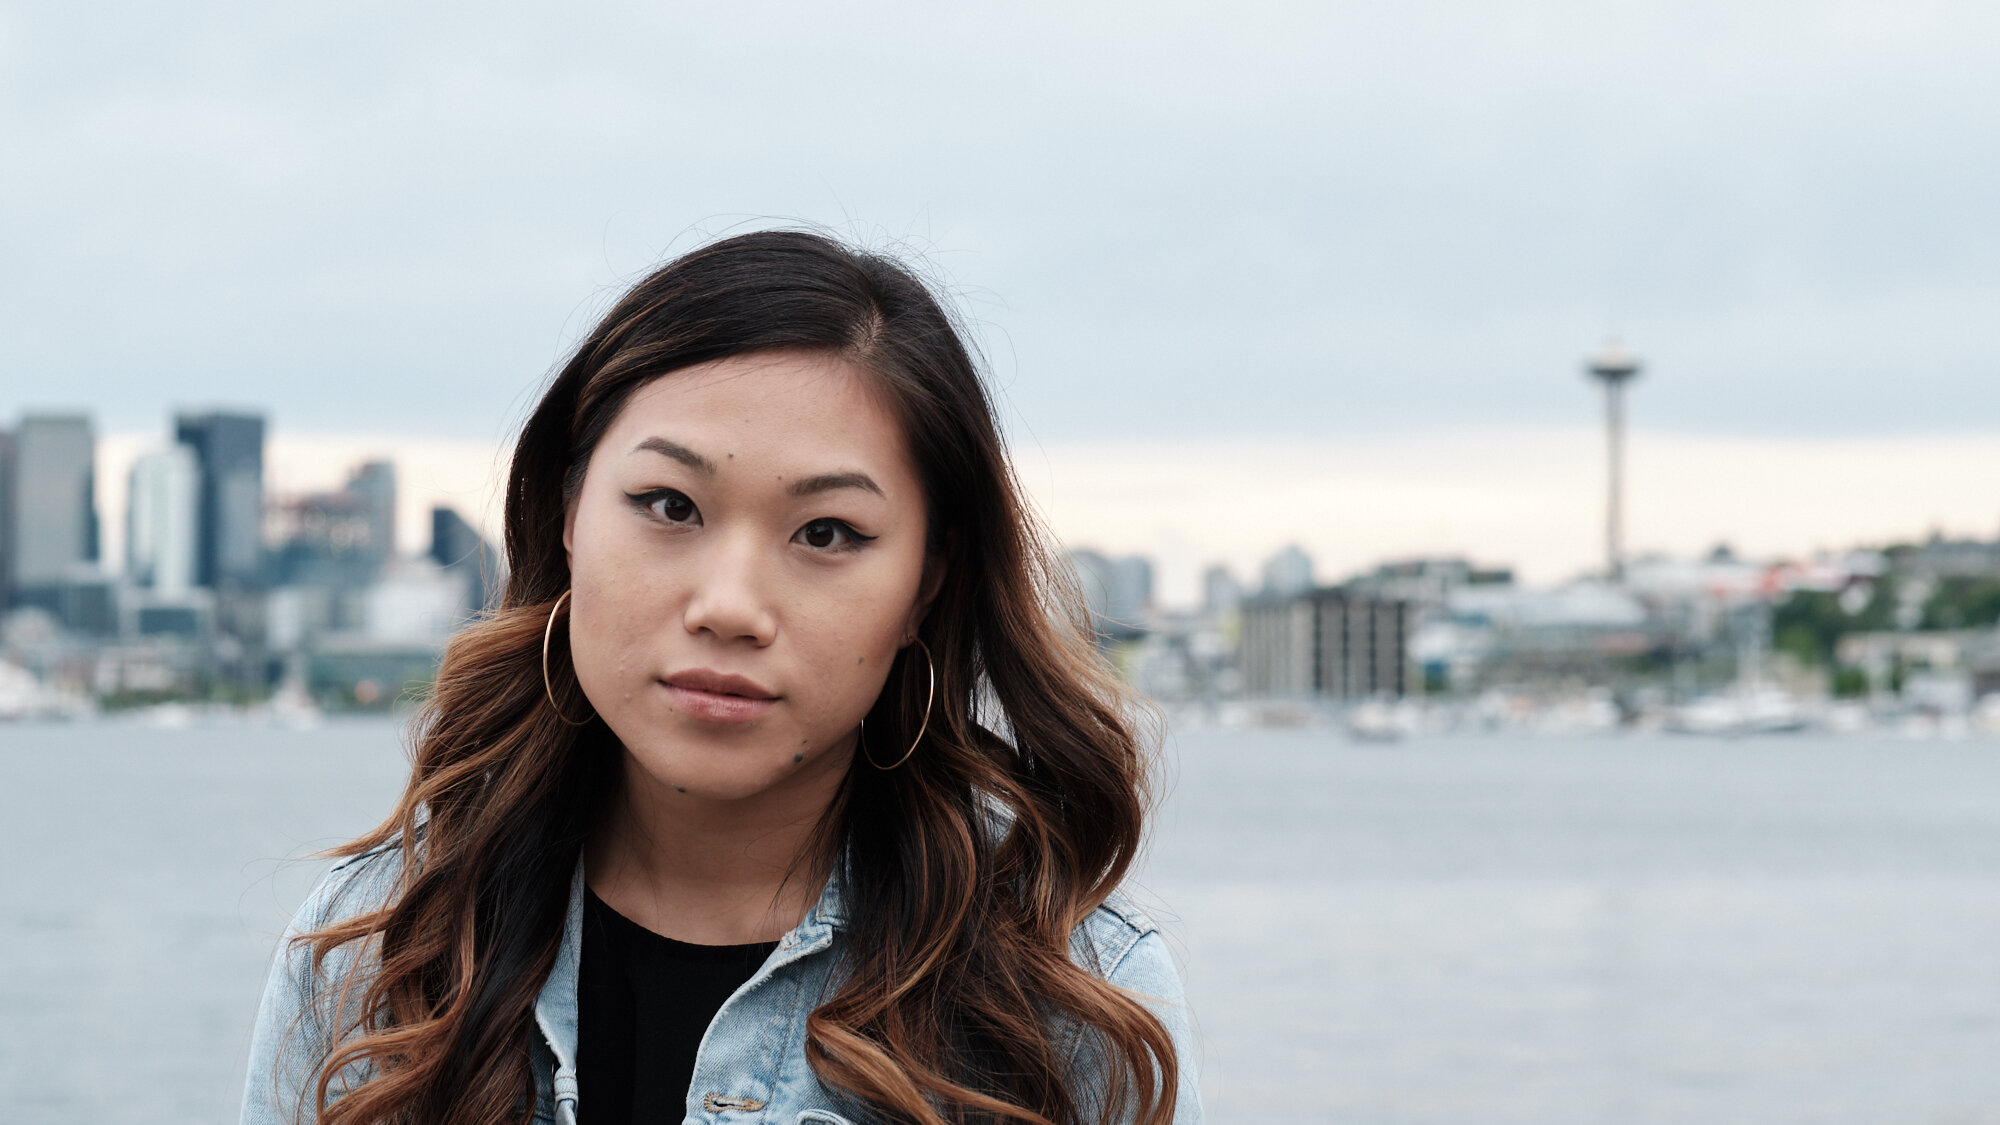
We started near the water, with a goal to get some of the skyline in the frame. For this image I started off with the 23mm f/2 lens from Fujifilm. I have a love of this lens, it’s fab when you want a little more in the frame. For this shot though, I wasn’t loving the composition, so we went higher.
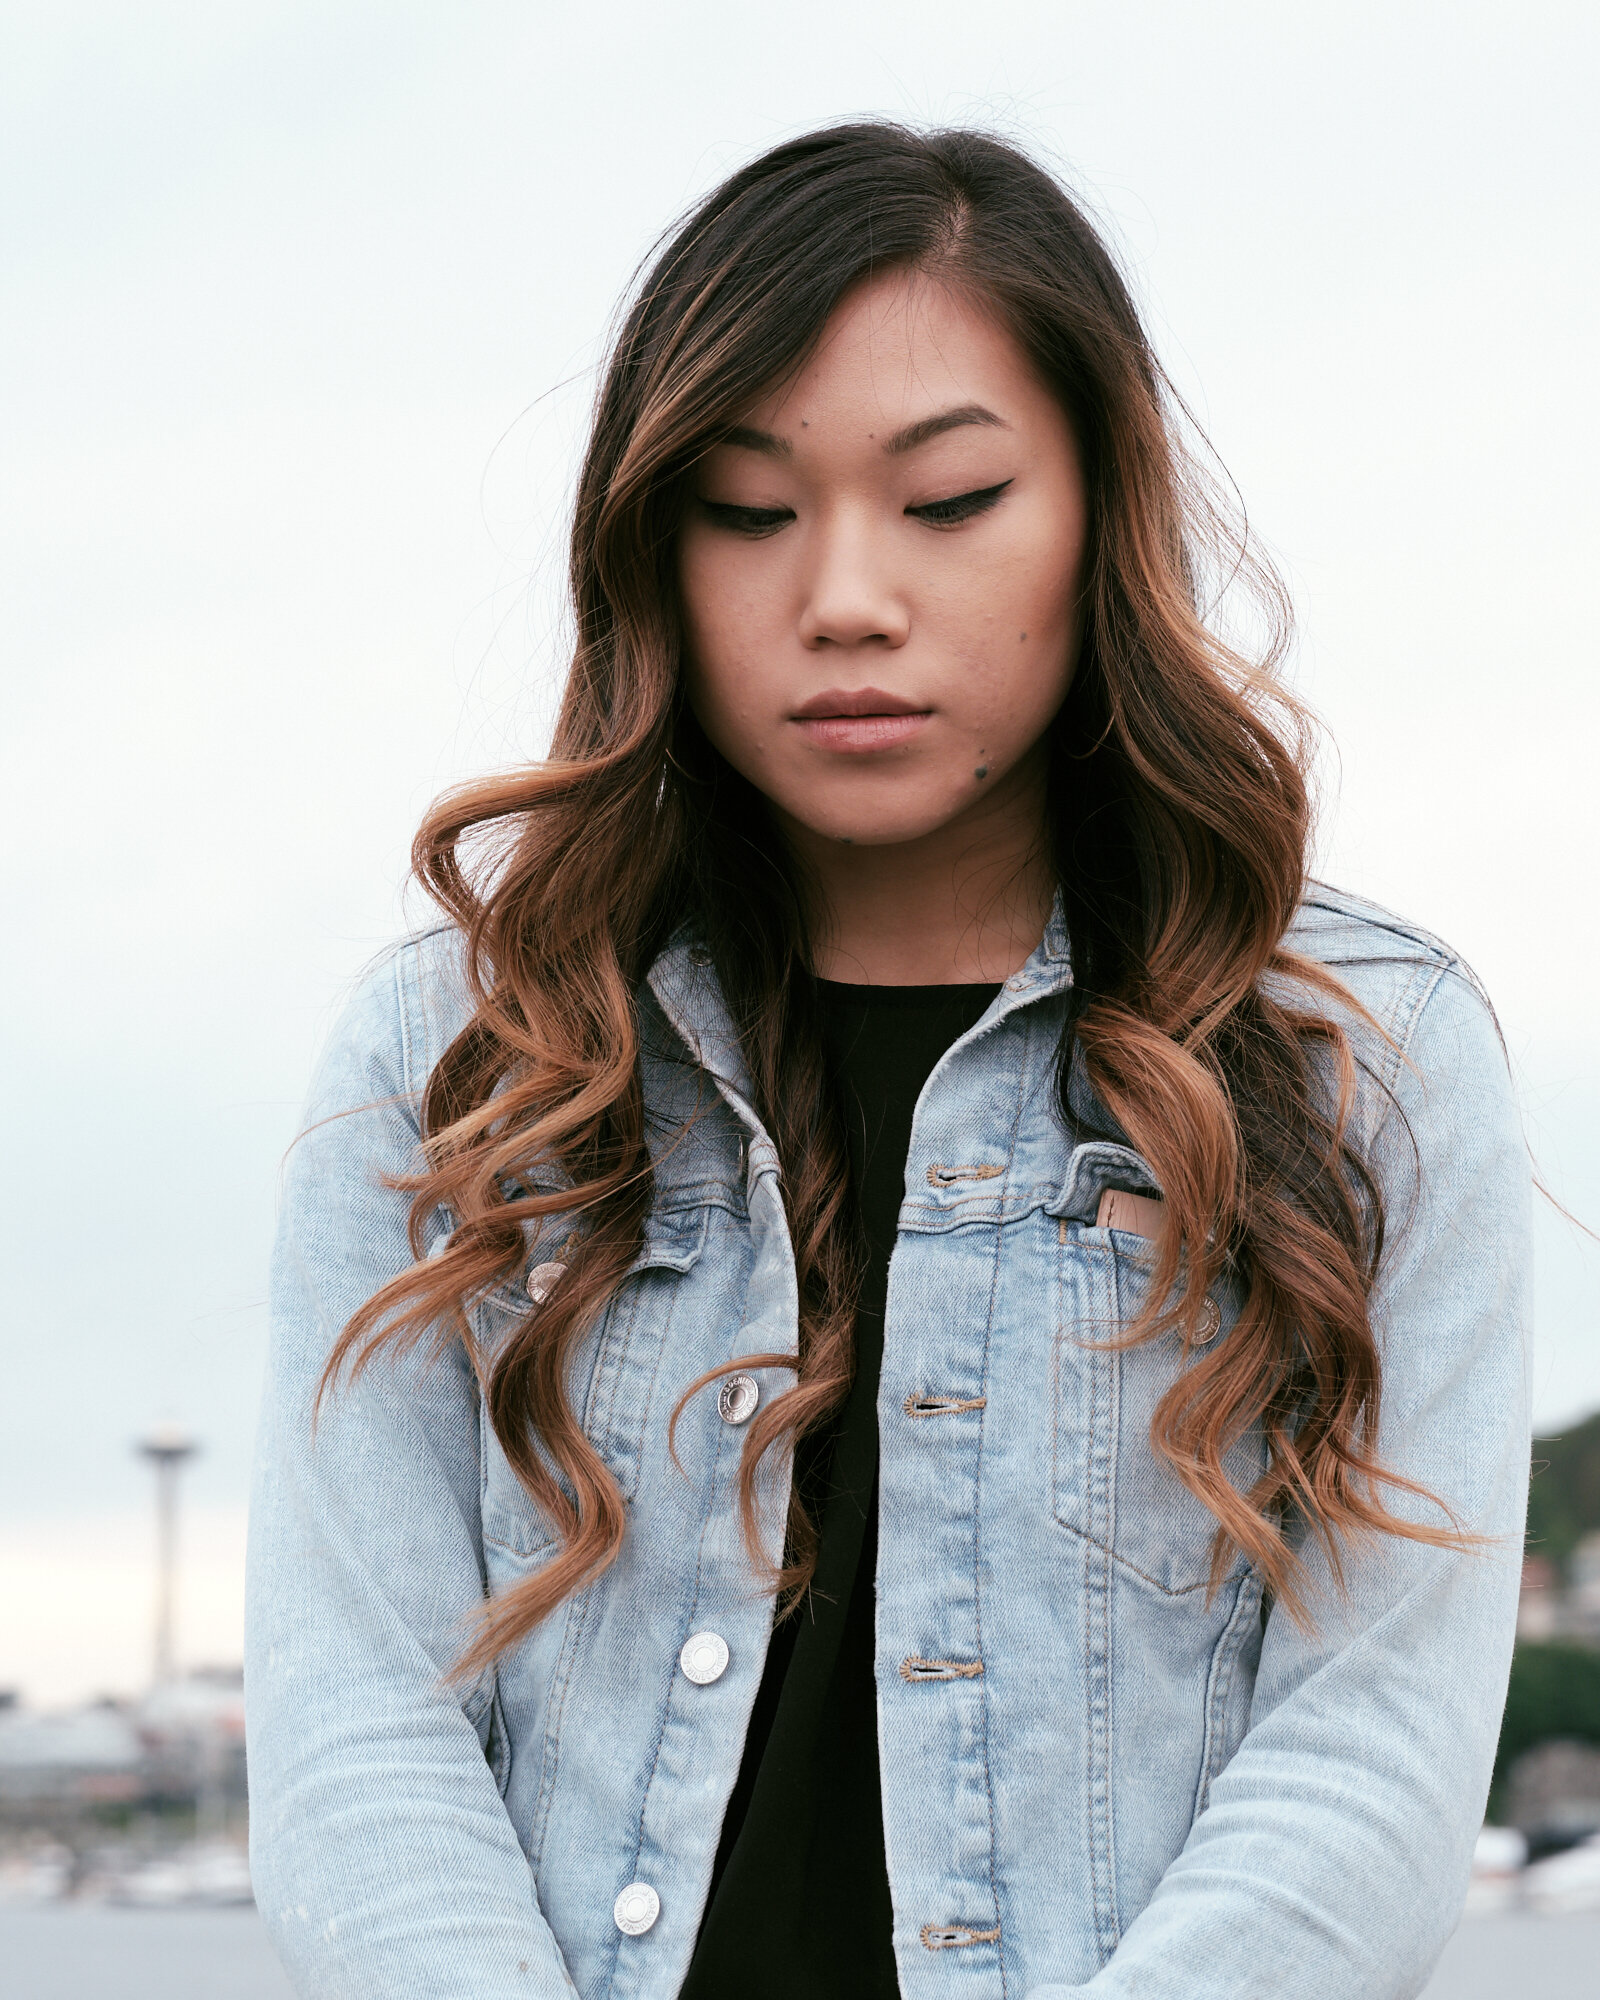
This view, was a bit different, and even though I was shooting at f/5.6 the Space Needle is a mere blip in the background! I quite like this pose of April, calm and serene, deep in thought.
Changing the perspective and the background is super easy, and quite important, especially when creating portraits on location. It's great to take time, scout out a few spots and see how many locations and backgrounds you can get from a space.

ADDING LIGHT
As the sun dissipated more, it was time to add a little fill, so we set up a Profoto B10, with the OCF Beauty Dish on a portable light stand. Starting at just 1.5 on power on the B10, we were able to maintain the ambient background, but fill in just a little light on April’s face.
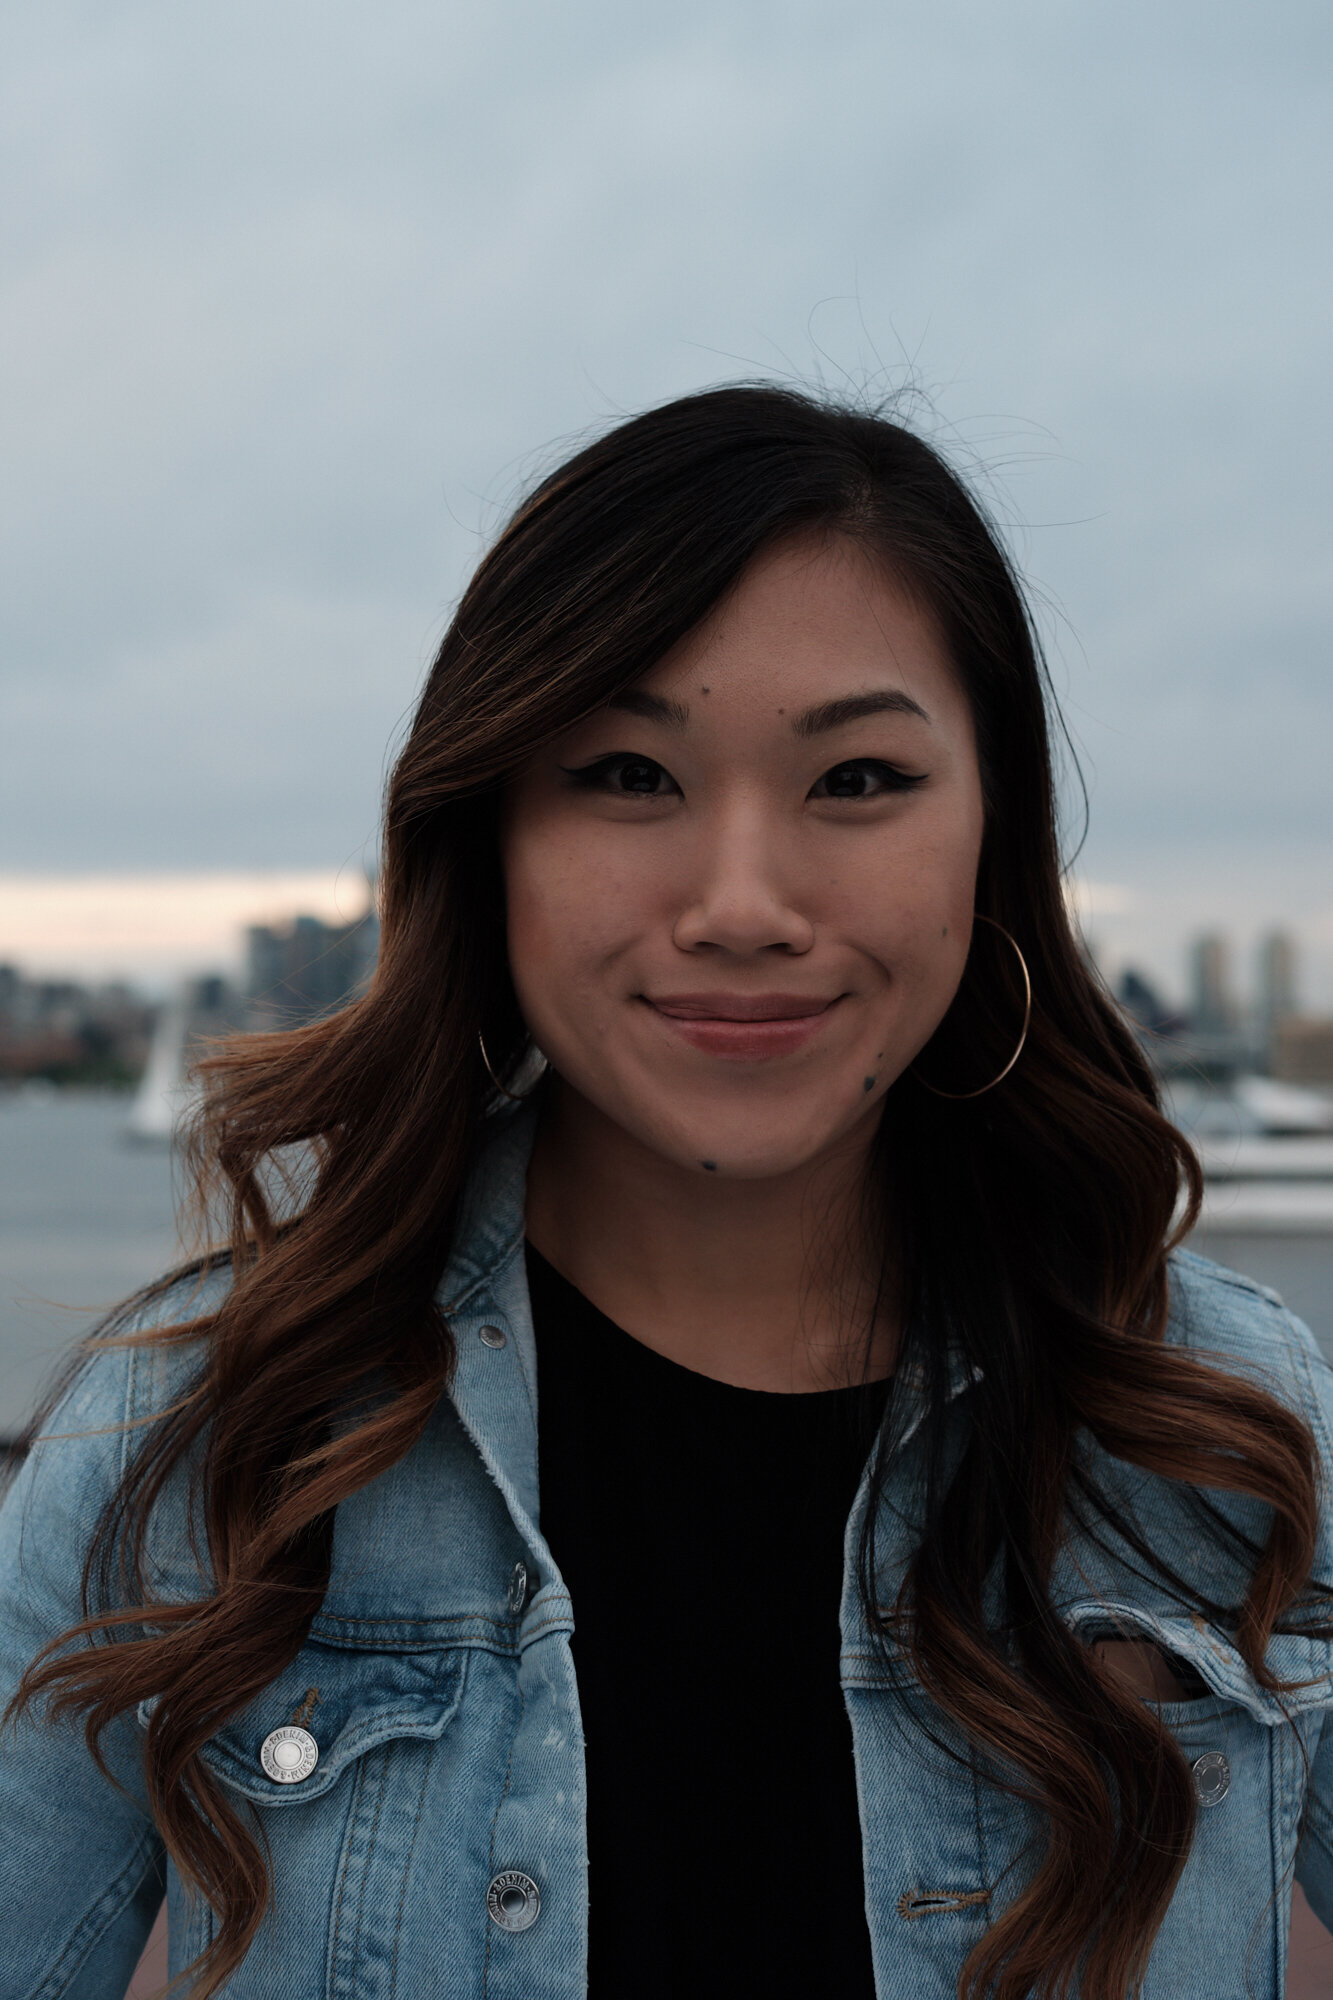
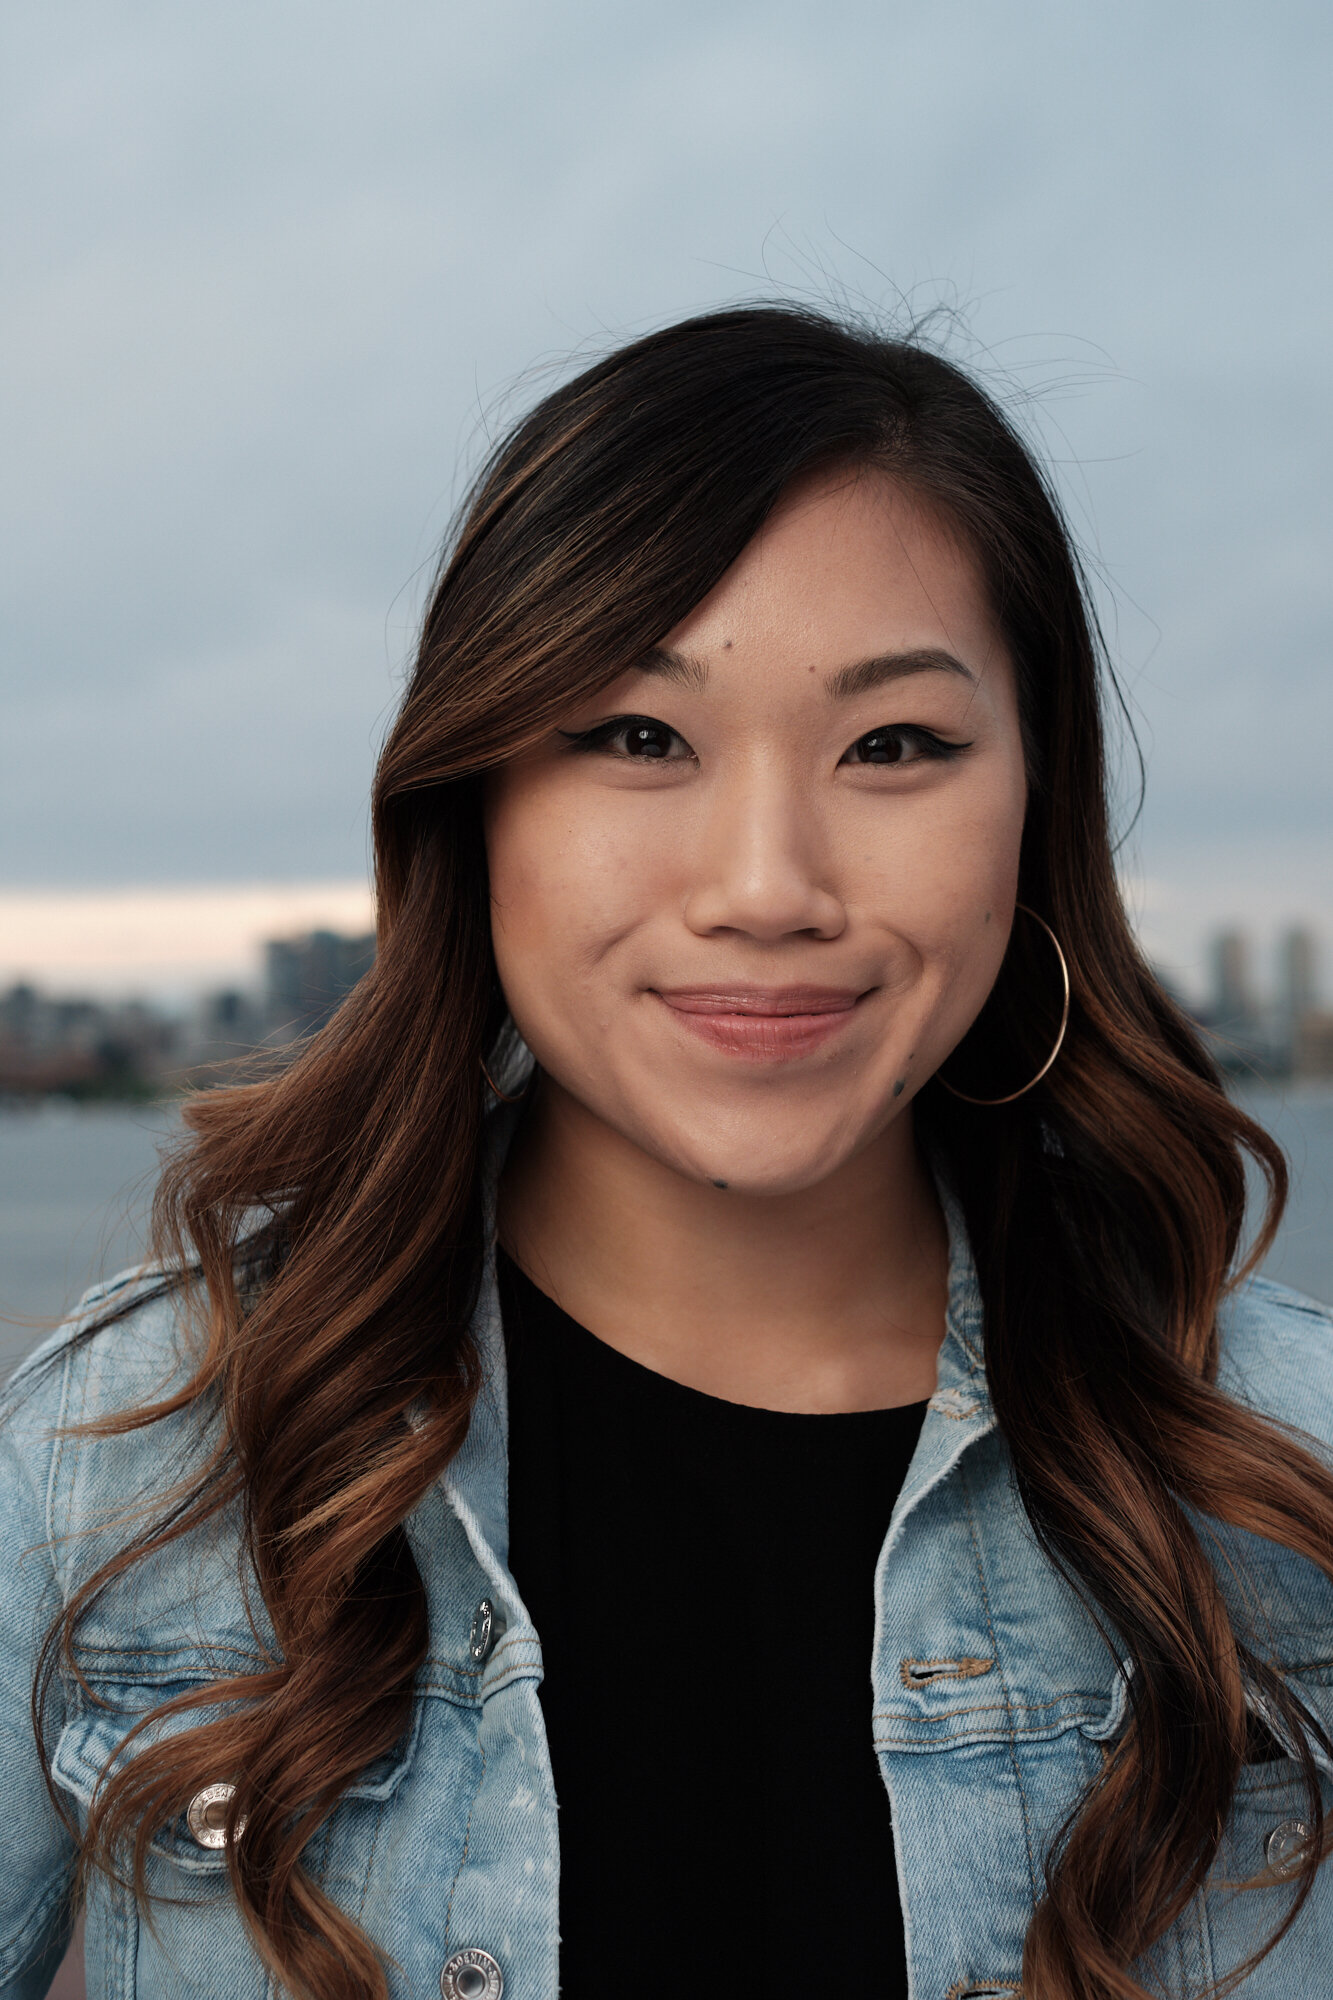
As the sun sets, you add more…
As the sky darkened, we went for more fill light and less ambient light. Here the background is dipping into a dark blue, and April is lit a bit more intentionally with the Profoto B10.
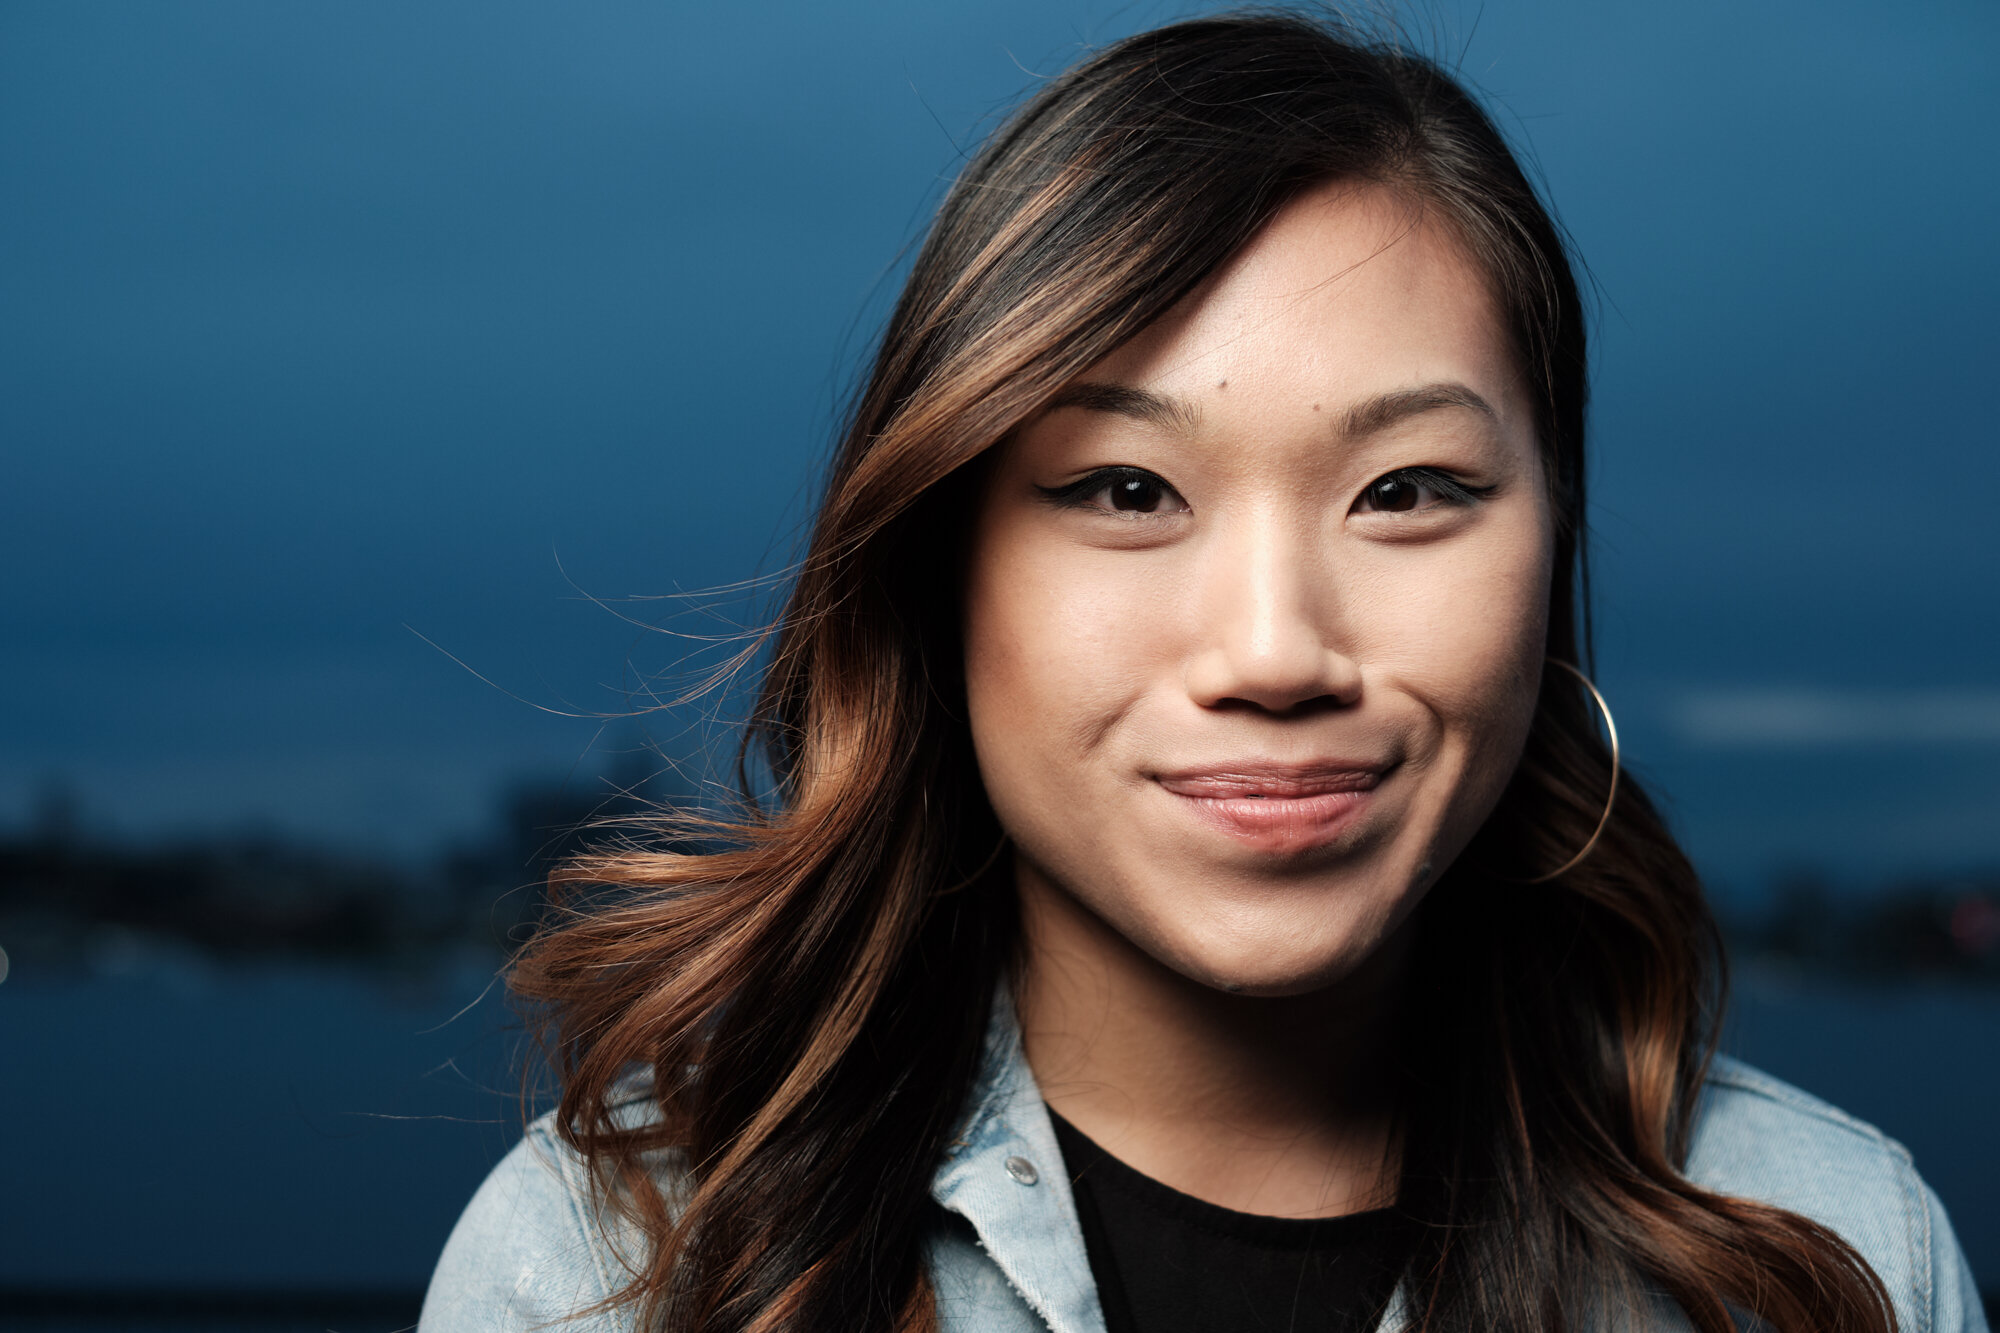
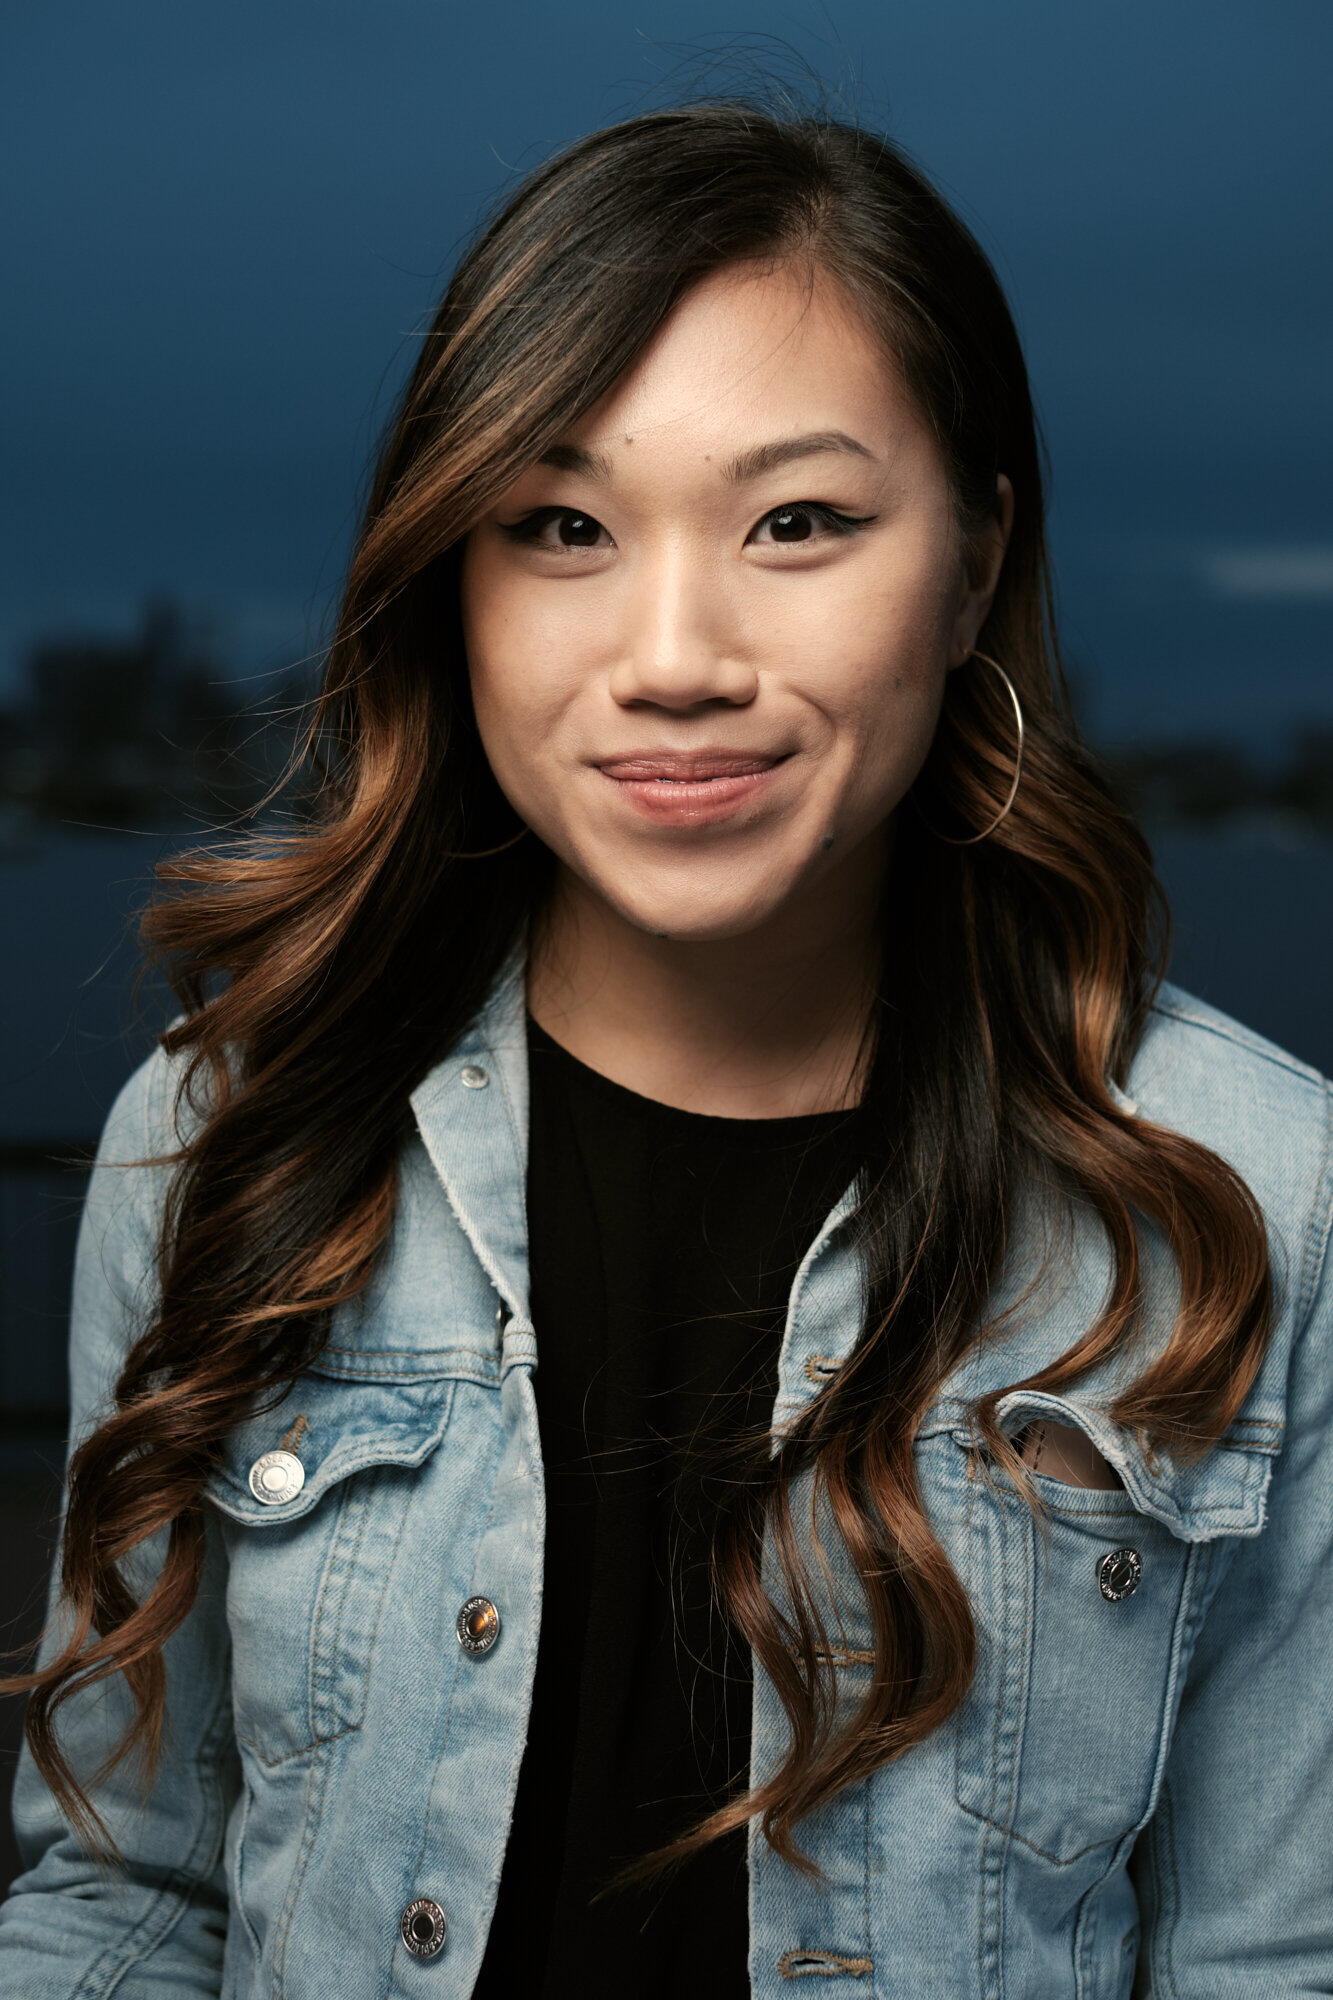
The Final Frame
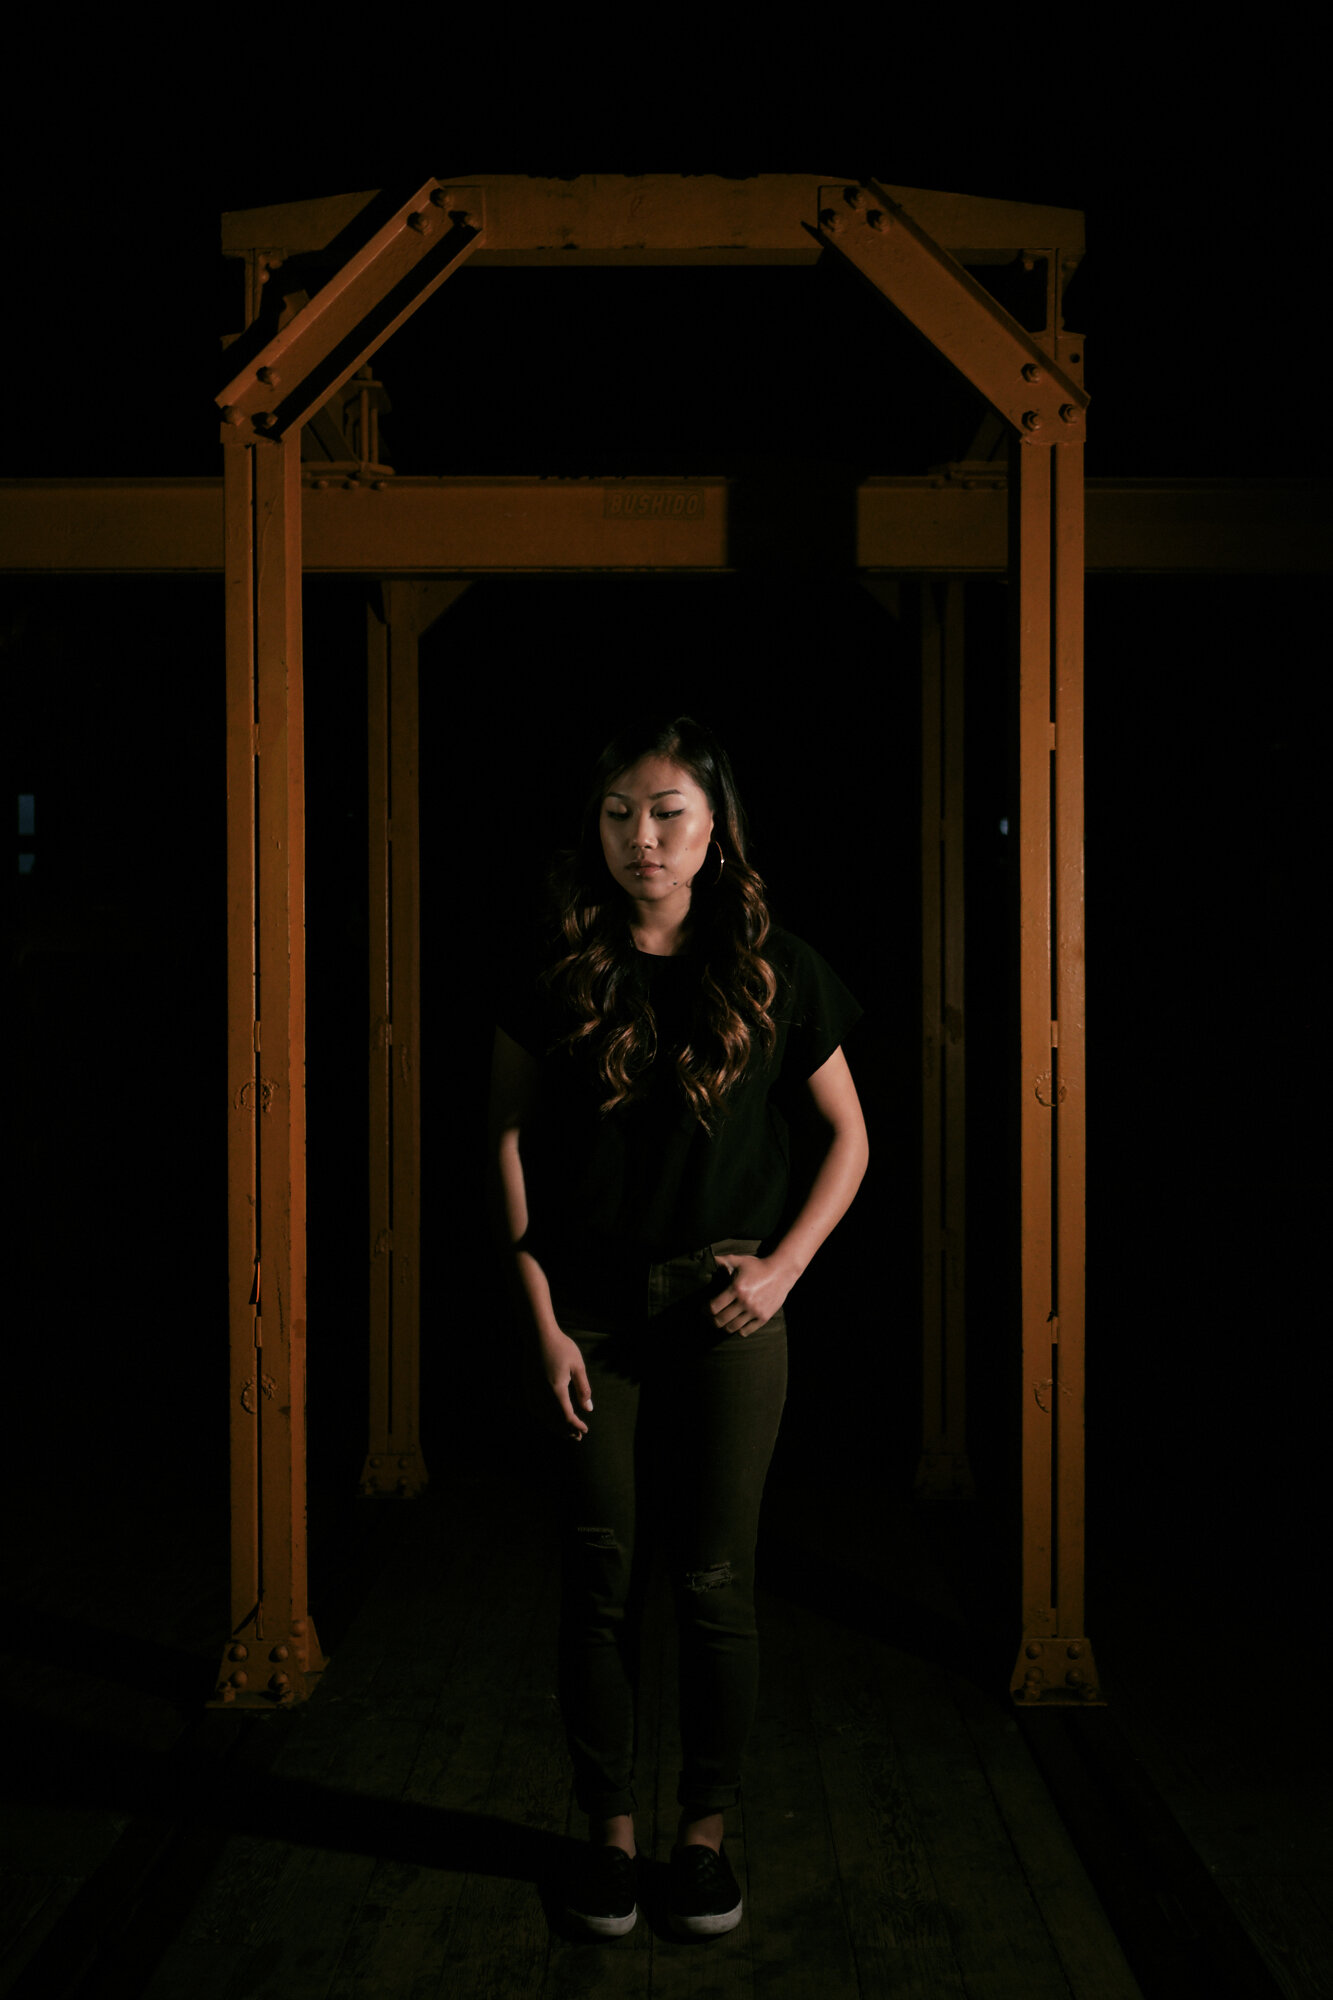
Going into this workshop, I’d had an idea pop in mind for a specific shot I wanted to try to get. This is close, not quite what I’d hoped for, but I still rather like it.
We had the light right of camera without any diffusion, angled to try not to push too much light on the framing element, but enough to let you see it and let you see the colour of it. We added just a little reflector from the side to fill in a bit on the left side of her face. With a couple of more lights, I’d have gotten it, I think.
Here April’s expression meets the mood of things a bit more.
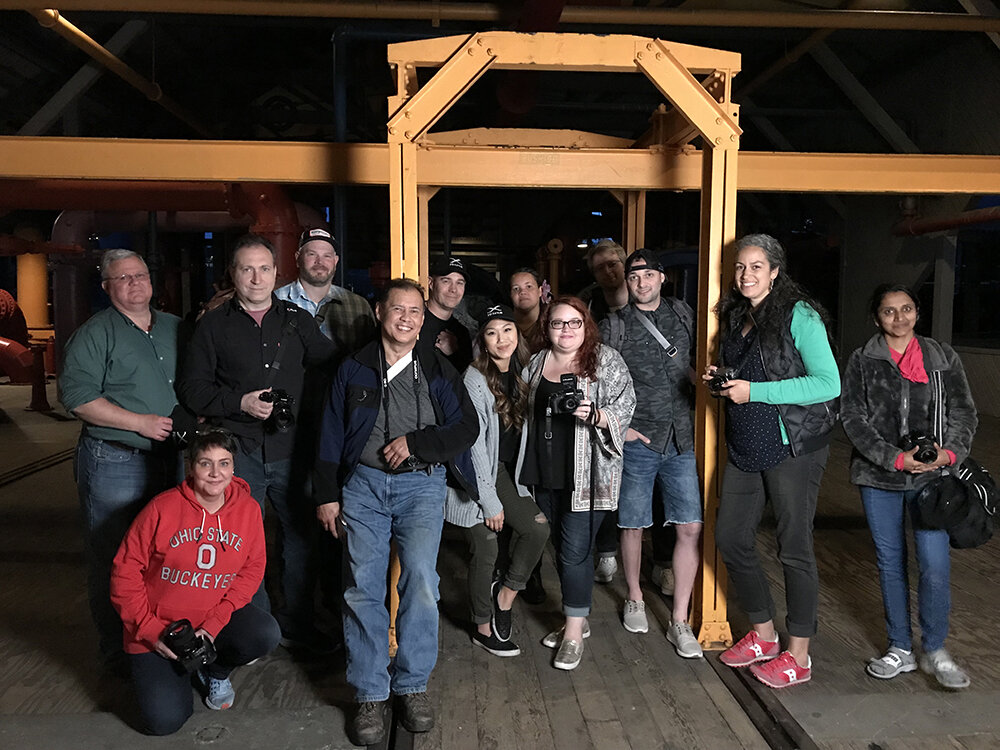
Here’s a group snap of those who were there till the end! Thank you all for coming out, asking great questions and being wonderful!
Special Thanks to Victor from Fujifilm for bringing some awesome gear for attendees to try (and all these great BTS shots), and Dan from Profoto for loaning me some B10’s!
